简介
背景:
J2EE笨重的开发、繁多的配置、低下的开发效率、 复杂的部署流程、第三方技术集成难度大。
解决:
“Spring全家桶” 时代。
Spring Boot → J2EE一站式解决方案
Spring Cloud → 分布式整体解决方案
优点
- 快速创建独立运行的Spring项目以及与主流框架集成
- 使用嵌入式的Servlet容器,应用无需打成WAR包
- starters自动依赖与版本控制
- 大量的自动配置,简化开发,也可修改默认值
- 无需配置XML,无代码生成,开箱即用
- 准生产环境的运行时应用监控
- 与云计算的天然集成
构建工程
环境约束
- jdk1.8:Spring Boot 推荐jdk1.7及以上
- maven3.x
- SpringBoot 1.5.9.RELEASE
- intellij idea
统一环境
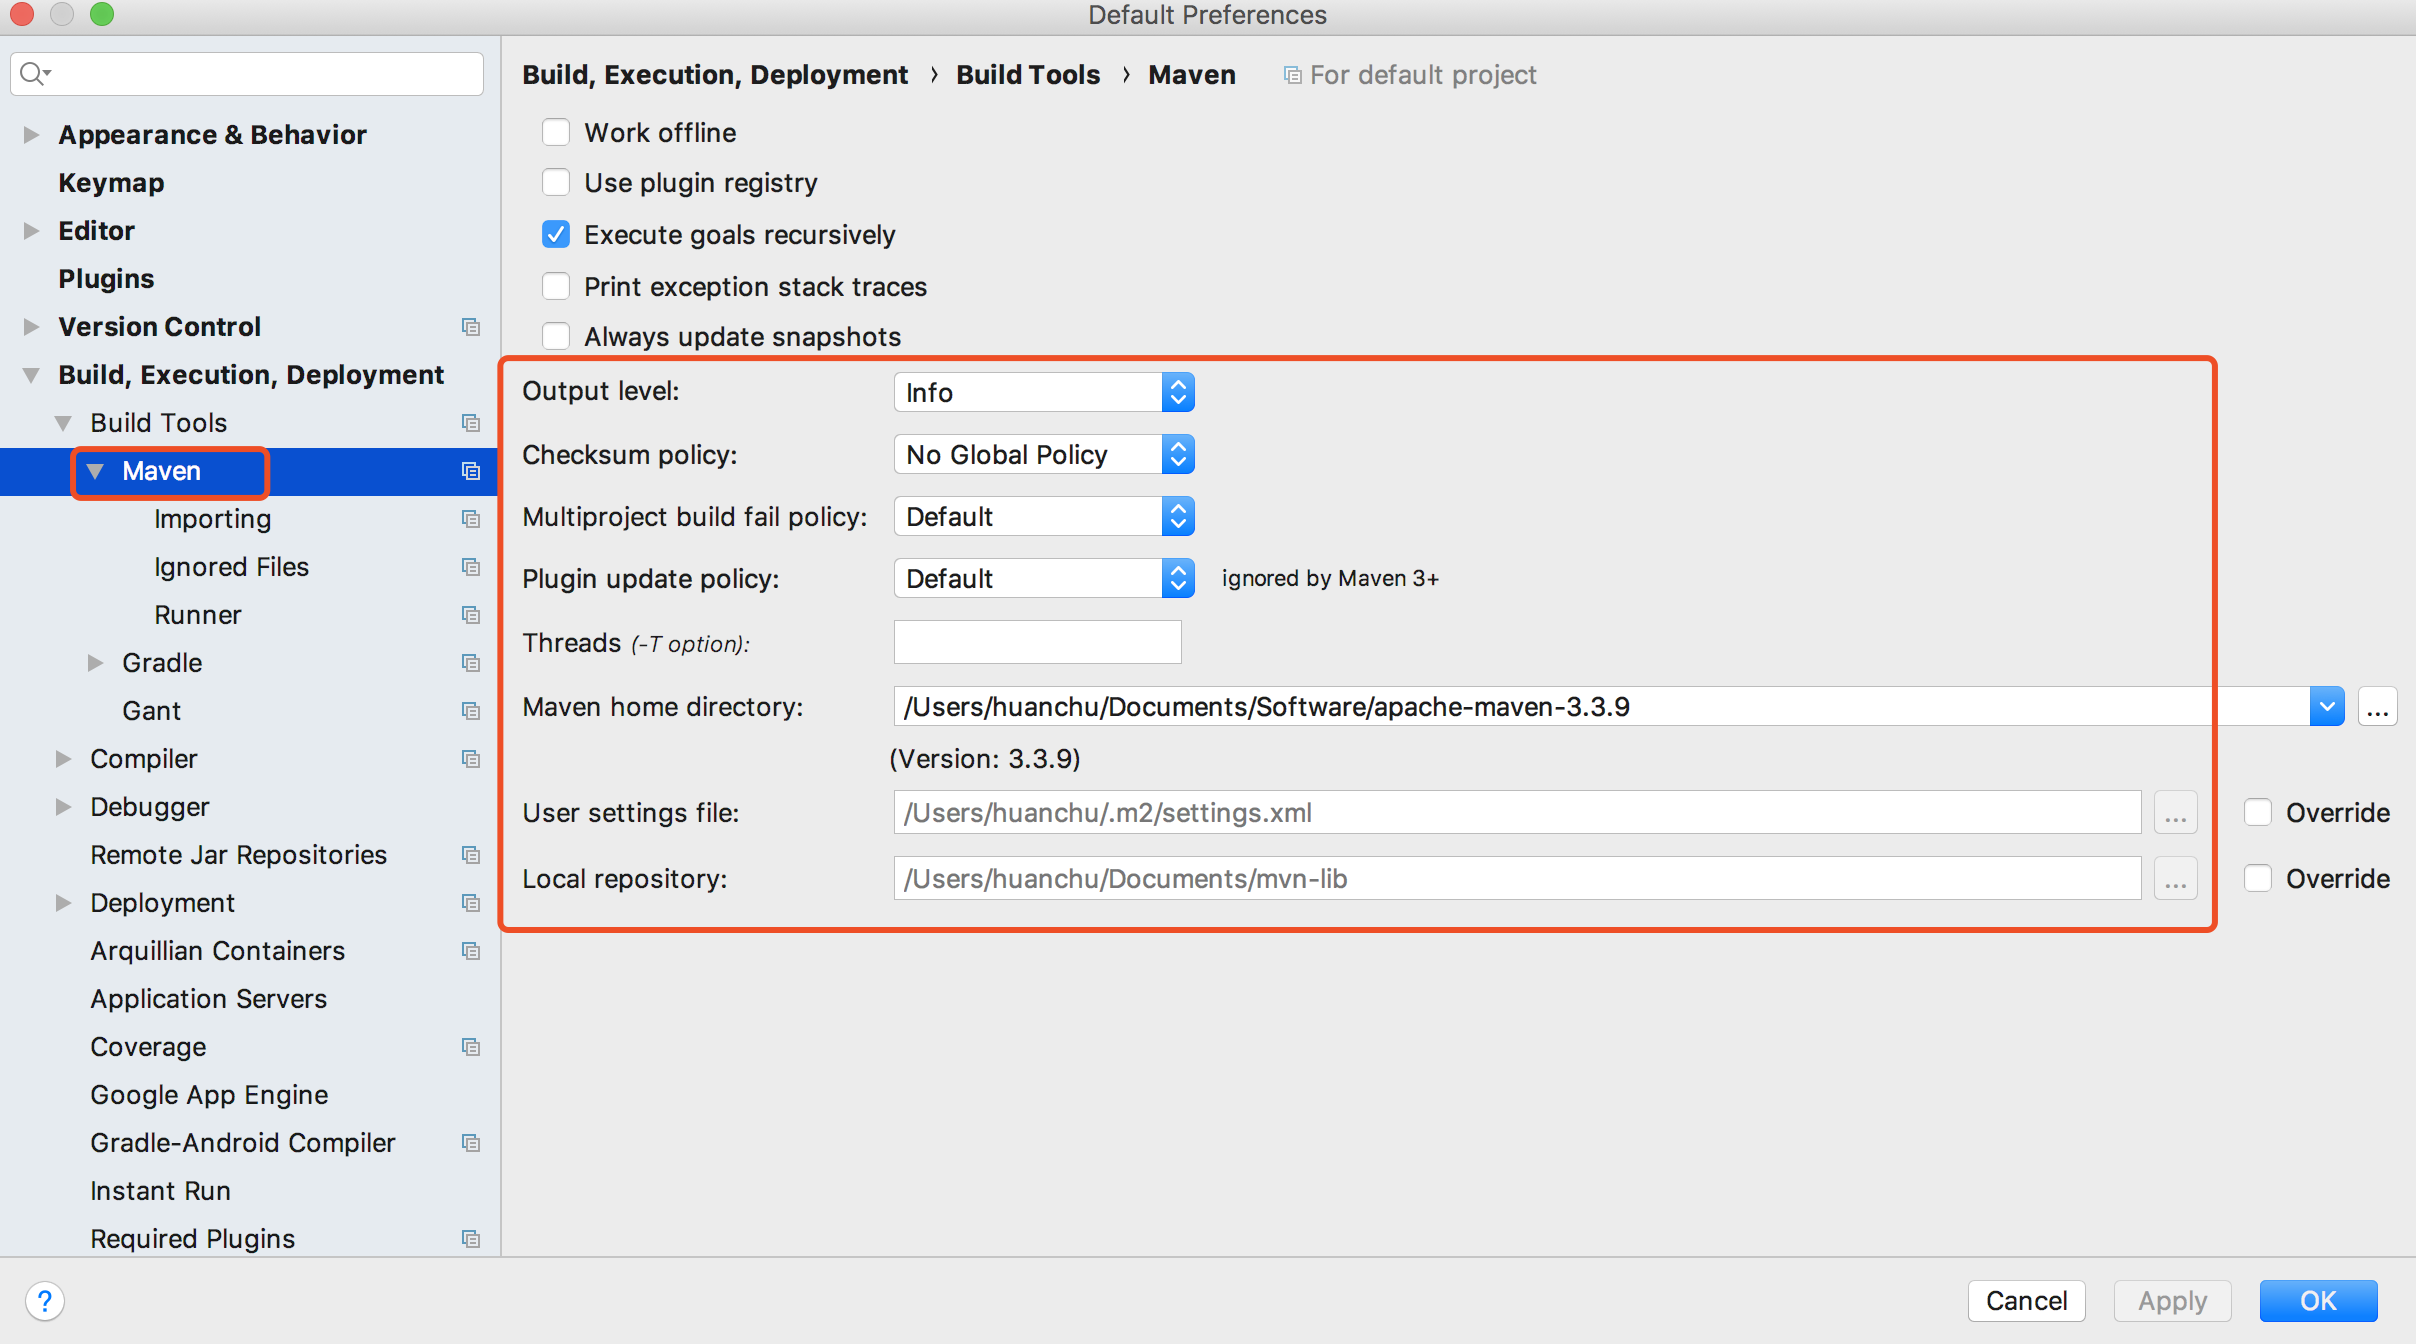
1. maven设置
给maven 的settings.xml配置文件的profiles标签添加
<profile>
  <id>jdk‐1.8</id>
  <activation>
    <activeByDefault>true</activeByDefault>
    <jdk>1.8</jdk>
  </activation>
  <properties>
    <maven.compiler.source>1.8</maven.compiler.source>
    <maven.compiler.target>1.8</maven.compiler.target>
    <maven.compiler.compilerVersion>1.8</maven.compiler.compilerVersion>
  </properties>
</profile>
2. idea设置

Spring Boot HelloWorld
1、pom.xml的依赖
<?xml version="1.0" encoding="UTF-8"?>
<project xmlns="http://maven.apache.org/POM/4.0.0" xmlns:xsi="http://www.w3.org/2001/XMLSchema-instance"
	xsi:schemaLocation="http://maven.apache.org/POM/4.0.0 http://maven.apache.org/xsd/maven-4.0.0.xsd">
	<modelVersion>4.0.0</modelVersion>

	<groupId>com.gf</groupId>
	<artifactId>springboot-first-application</artifactId>
	<version>0.0.1-SNAPSHOT</version>
	<packaging>jar</packaging>

	<name>springboot-first-application</name>
	<description>Demo project for Spring Boot</description>

	<parent>
		<groupId>org.springframework.boot</groupId>
		<artifactId>spring-boot-starter-parent</artifactId>
		<version>2.0.5.RELEASE</version>
		<relativePath/> <!-- lookup parent from repository -->
	</parent>

	<properties>
		<project.build.sourceEncoding>UTF-8</project.build.sourceEncoding>
		<project.reporting.outputEncoding>UTF-8</project.reporting.outputEncoding>
		<java.version>1.8</java.version>
	</properties>

	<dependencies>
		<dependency>
			<groupId>org.springframework.boot</groupId>
			<artifactId>spring-boot-starter-web</artifactId>
		</dependency>

		<dependency>
			<groupId>org.springframework.boot</groupId>
			<artifactId>spring-boot-starter-test</artifactId>
			<scope>test</scope>
		</dependency>
	</dependencies>

	<build>
		<plugins>
			<plugin>
				<groupId>org.springframework.boot</groupId>
				<artifactId>spring-boot-maven-plugin</artifactId>
			</plugin>
		</plugins>
	</build>


</project>
2、controller
package com.gf.controller;

import org.springframework.web.bind.annotation.GetMapping;
import org.springframework.web.bind.annotation.PathVariable;
import org.springframework.web.bind.annotation.RestController;

@RestController
public class HelloController {

    @GetMapping("/{name}")
    public String hello(@PathVariable(name = "name")  String name) {
       return "hello " + name + " !";
    }

}
启动SpringbootFirstApplication的main方法,打开浏览器localhos:8080/zhansan,浏览器显示:
hello zhangsan !
3、简化部署
在项目主目录下
<!‐‐ 这个插件,可以将应用打包成一个可执行的jar包;‐‐>
<build>
       <plugins>
           <plugin>
               <groupId>org.springframework.boot</groupId>
               <artifactId>spring‐boot‐maven‐plugin</artifactId>
           </plugin>
       </plugins>
</build>
应用打成jar包后,直接使用java -jar的命令进行执行。
Hello World 探究
1、pom文件
父项目
<parent>
    <groupId>org.springframework.boot</groupId>
    <artifactId>spring‐boot‐starter‐parent</artifactId>
    <version>1.5.9.RELEASE</version>
</parent>
<!-- 他的父项目是 -->
<parent>
  <groupId>org.springframework.boot</groupId>
  <artifactId>spring‐boot‐dependencies</artifactId>
  <version>1.5.9.RELEASE</version>
  <relativePath>../../spring‐boot‐dependencies</relativePath>
</parent>
<!-- 他来真正管理Spring Boot应用里面的所有依赖版本; -->
Spring Boot的版本仲裁中心; 以后我们导入依赖默认是不需要写版本;(没有在dependencies里面管理的依赖自然需要声明版本号)
启动器
<dependency>
	<groupId>org.springframework.boot</groupId>
	<artifactId>spring-boot-starter-web</artifactId>
</dependency>
spring-boot-starter-web:
spring-boot-starter : spring-boot场景启动器;帮我们导入了web模块正常运行所依赖的组件。
2、主程序
package com.gf;

import org.springframework.boot.SpringApplication;
import org.springframework.boot.autoconfigure.SpringBootApplication;

/**
 * @SpringBootApplication 来标注一个主程序,说明是一个Spring Boot 应用
 */
@SpringBootApplication
public class SpringbootFirstApplication {

	public static void main(String[] args) {
		//String 应用启动起来
		SpringApplication.run(SpringbootFirstApplication.class, args);
	}
}
@SpringBootApplication : Spring Boot应用标注在某个类上说明这个类是SpringBoot的主配置类,SpringBoot 就应该运行这个类的main方法来启动SpringBoot应用。
@Target({ElementType.TYPE})
@Retention(RetentionPolicy.RUNTIME)
@Documented
@Inherited
@SpringBootConfiguration
@EnableAutoConfiguration
@ComponentScan(
    excludeFilters = {@Filter(
    type = FilterType.CUSTOM,
    classes = {TypeExcludeFilter.class}
), @Filter(
    type = FilterType.CUSTOM,
    classes = {AutoConfigurationExcludeFilter.class}
)}
)
public @interface SpringBootApplication {
@SpringBootConfiguration : Spring Boot的配置类; 标注在某个类上,表示这是一个Spring Boot的配置类。
@Configuration : 配置类上来标注这个注解; 配置类 ----- 配置文件;配置类也是容器中的一个组件;@Component
@EnableAutoConfiguration : 开启自动配置功能; 以前我们需要配置的东西,Spring Boot帮我们自动配置;@EnableAutoConfiguration告诉SpringBoot开启自 动配置功能;这样自动配置才能生效;
@Target({ElementType.TYPE})
@Retention(RetentionPolicy.RUNTIME)
@Documented
@Inherited
@AutoConfigurationPackage
@Import({AutoConfigurationImportSelector.class})
public @interface EnableAutoConfiguration {
@AutoConfigurationPackage : 自动配置包;
@Import : 给容器中导入一个组件;导入的组件由 AutoConfigurationPackages.Registrar.class; 将主配置类(@SpringBootApplication标注的类)的所在包及下面所有子包里面的所有组件扫描到Spring容器;
@Import(EnableAutoConfigurationImportSelector.class) : 给容器中导入组件; EnableAutoConfigurationImportSelector : 导入哪些组件的选择器; 将所有需要导入的组件以全类名的方式返回;这些组件就会被添加到容器中; 会给容器中导入非常多的自动配置类(xxxAutoConfiguration);就是给容器中导入这个场景需要的所有组件, 并配置好这些组件;
总结
有了自动配置类,免去了我们手动编写配置注入功能组件等的工作; SpringFactoriesLoader.loadFactoryNames(EnableAutoConfiguration.class,classLoader);
Spring Boot在启动的时候从类路径下的META-INF/spring.factories中获取EnableAutoConfiguration指定的值,将 以前我们需要自己配置的东西,自动配置类都帮我们解决了
J2EE的整体整合解决方案和自动配置都在spring-boot-autoconfigure-1.5.9.RELEASE.jar;